How to create a custom environment and launcher for a Shiny app
If you have a Shiny app that needs additional R packages, this how-to guide will help you create a new Renku environment that includes all packages and can run the Shiny app in the browser (using R version 4.2.0).
If you have a shiny app that does not need any additional R packages, you can instead use the simpler guide How to set up a Shiny app launcher.
We know this how-to guide is not easy, and we are hard at work to make this easier in the future! We are currently working on a feature to make it easy to add custom packages to your session environment. In the mean time, follow this how-to guide to create your own custom environment.
Attach your Shiny app code repository to your project:
Create a custom Renku environment and launcher to serve your Shiny app:
-
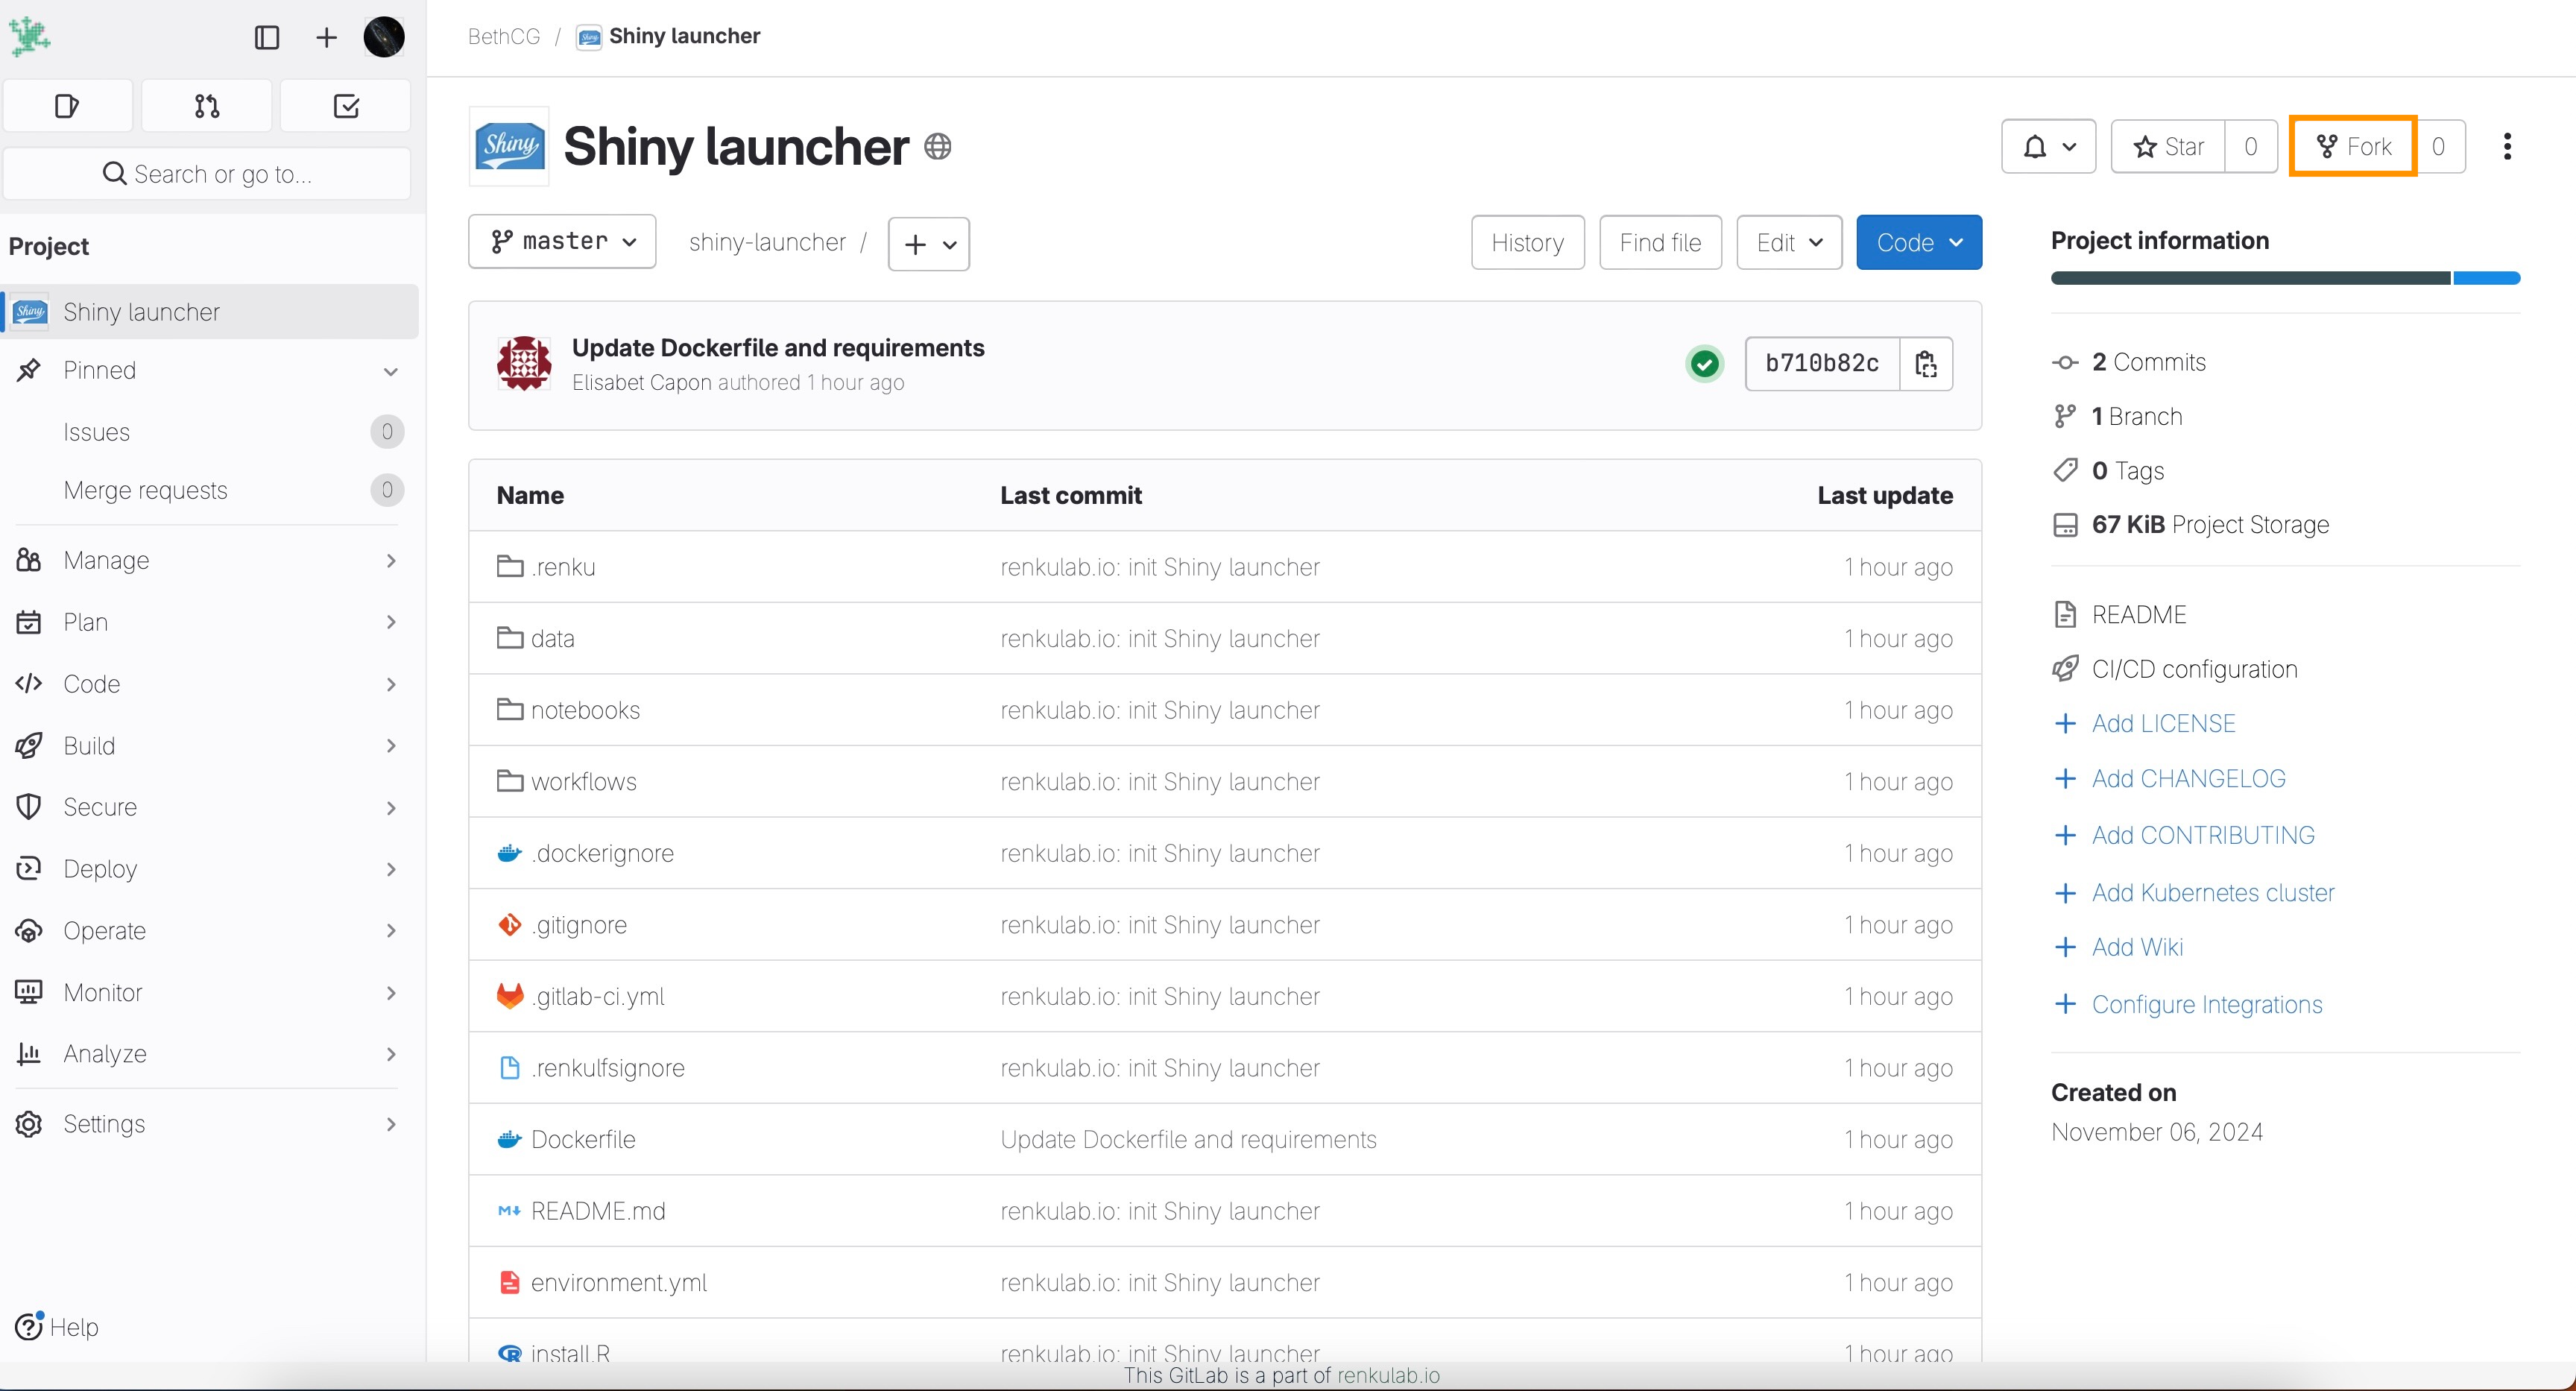
Create a fork of this repository: https://gitlab.renkulab.io/bethcg/shiny-launcher, we will refer to the fork as project-fork.
-
In project-fork, modify the
install.Rfile to include the required R packages for your project, as explained here. -
Commit your changes for project-fork.
-
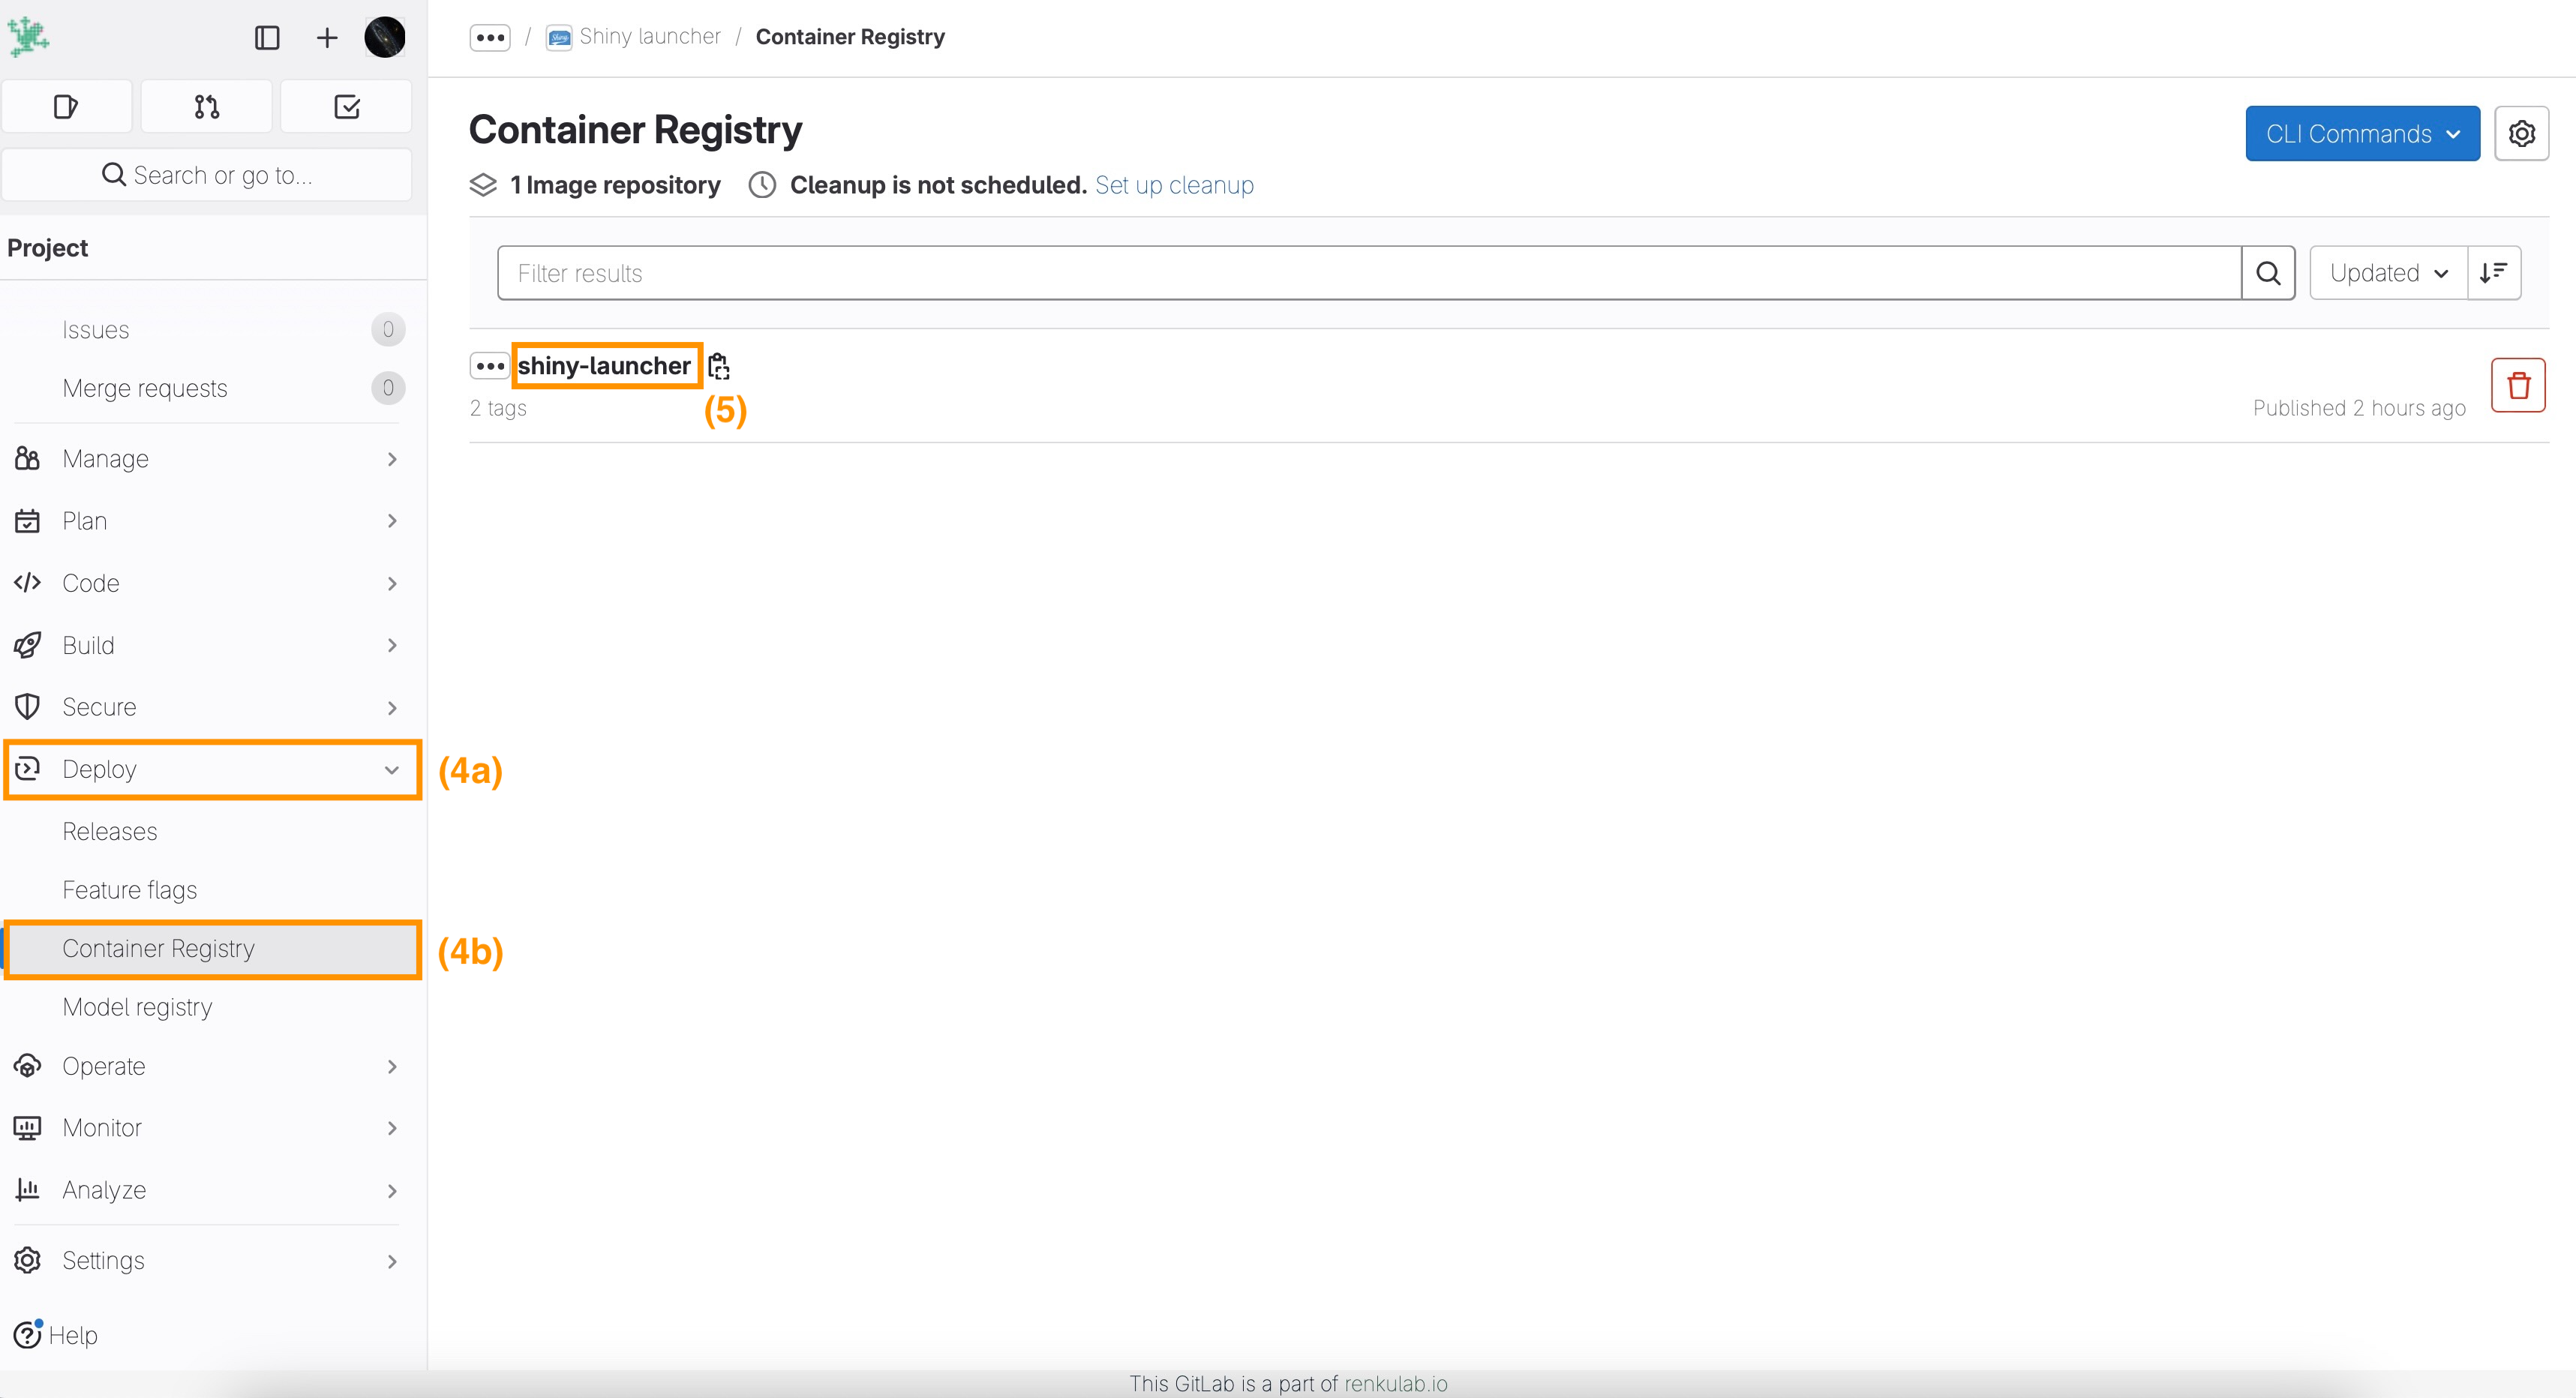
Select Deploy(4a)/Container Registry(4b) on the left menu of project-fork.
-
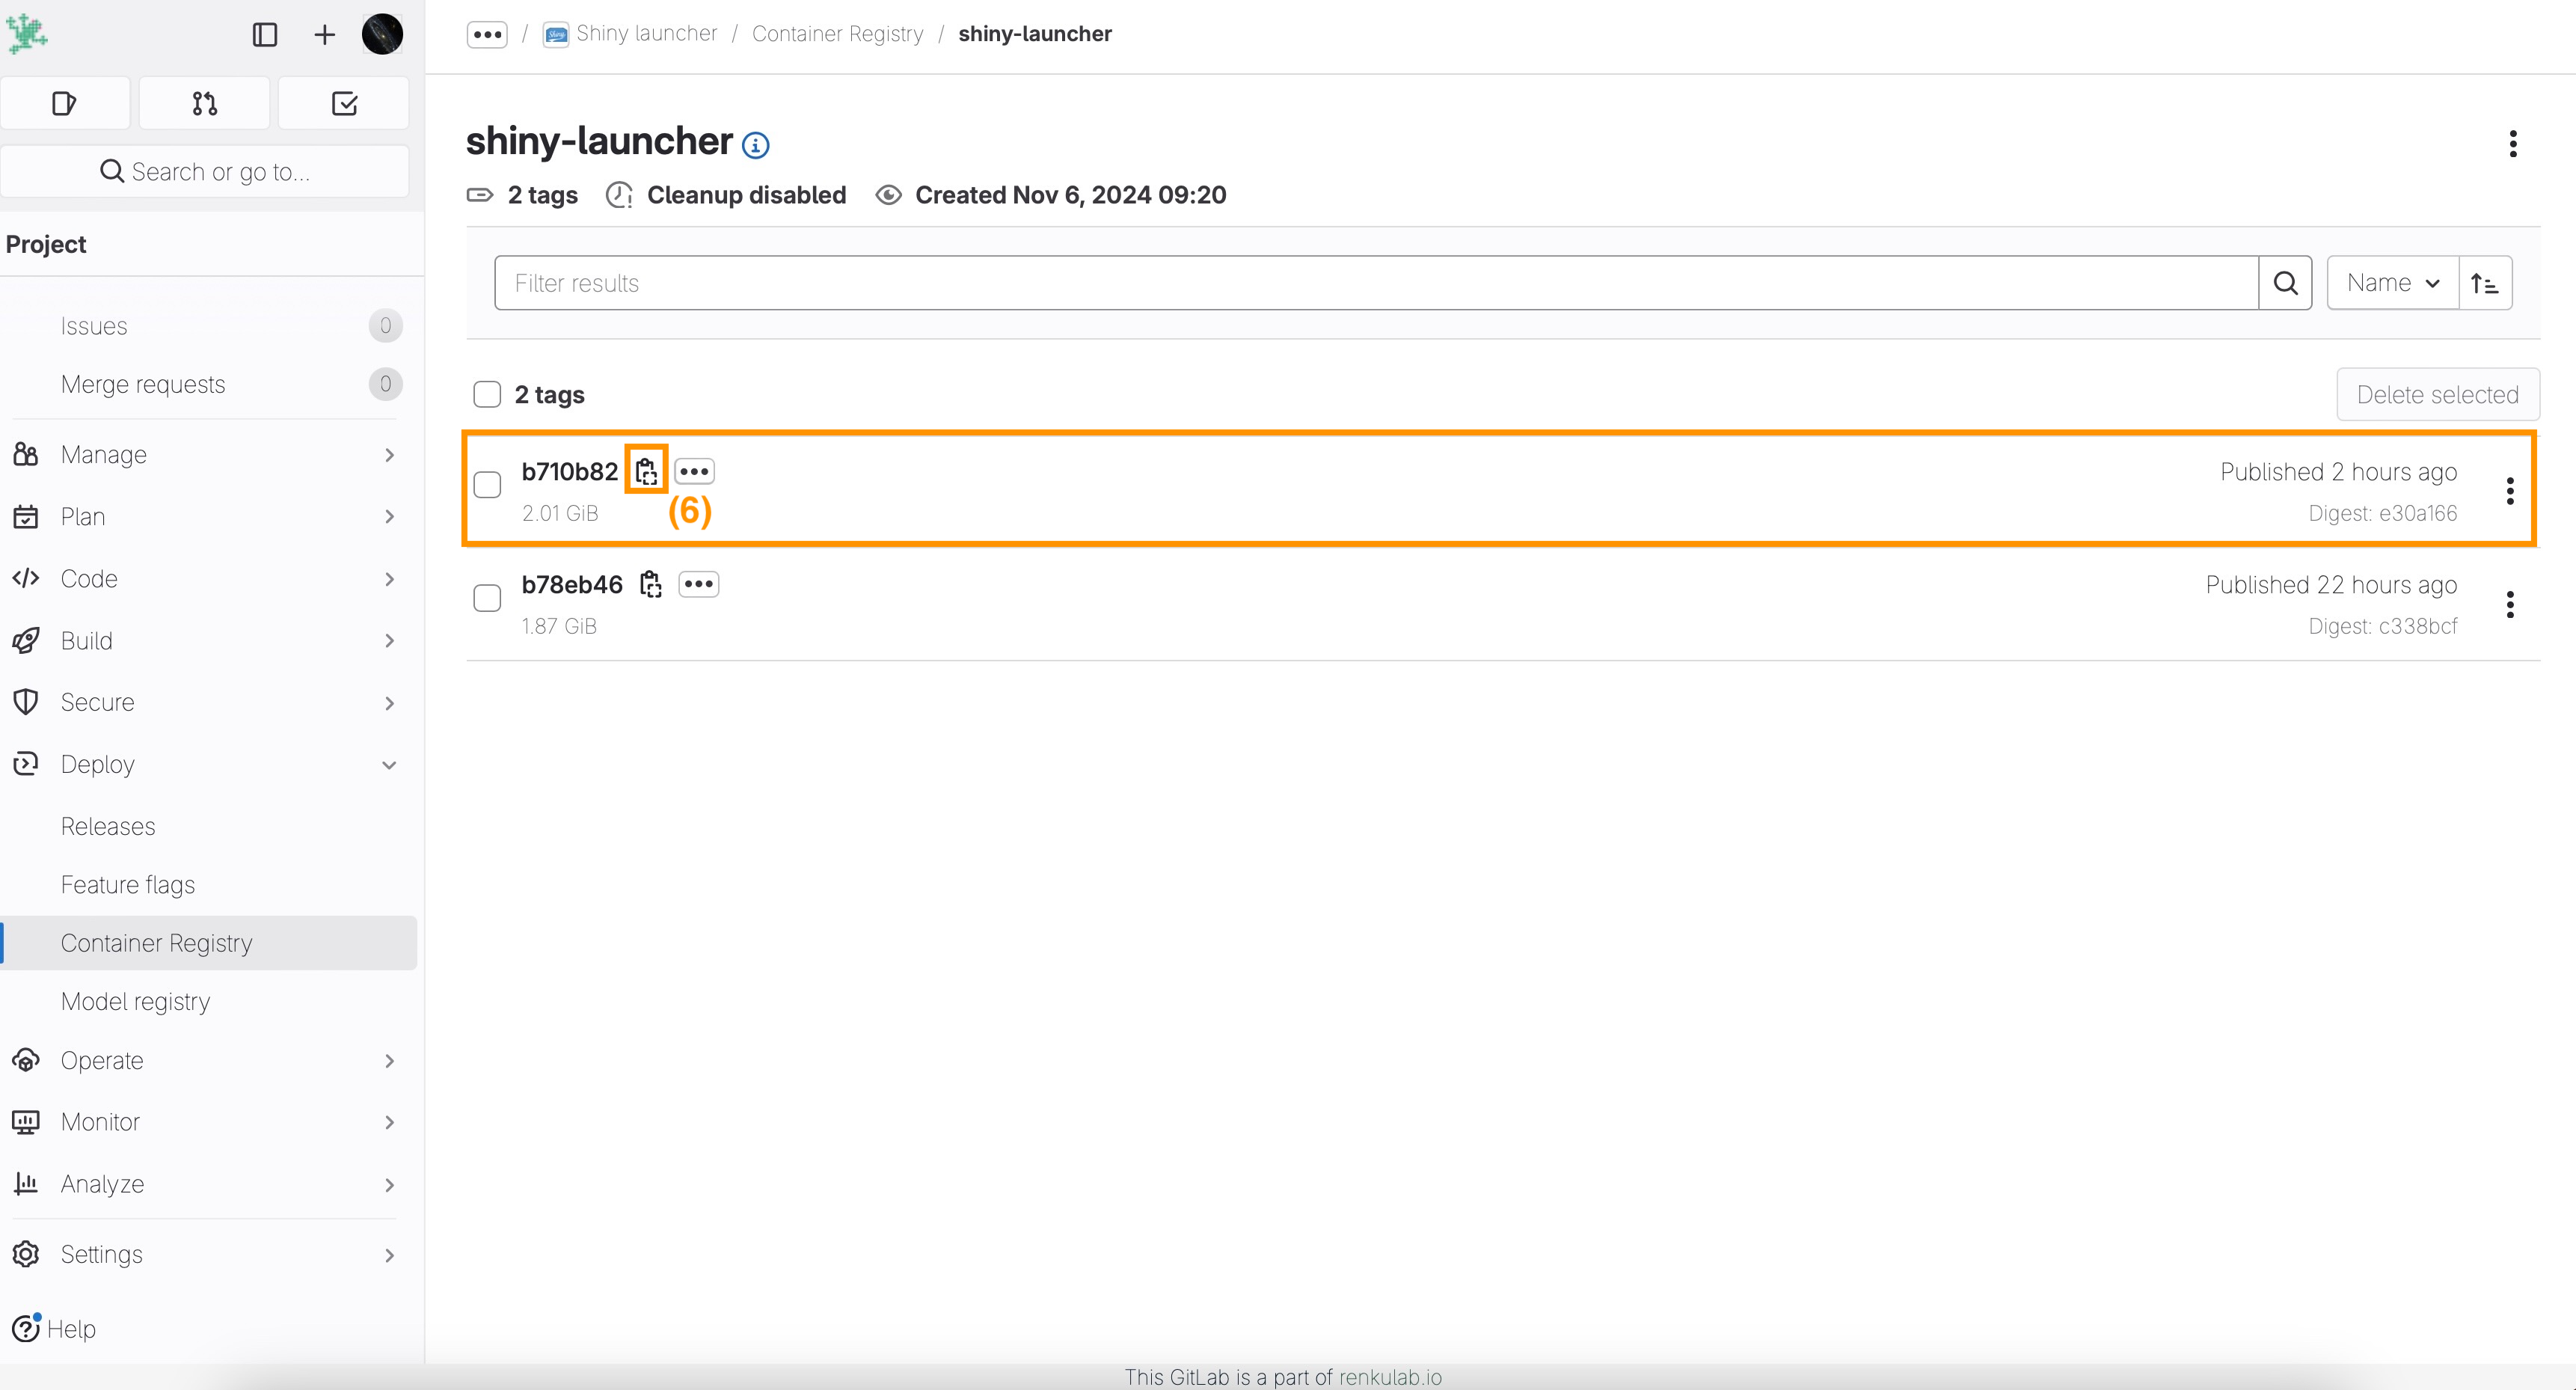
Click on top of your image registry to access the tags (5).
-
Copy the last tagged image (registry_link).
-
Add a session launcher to your Renku project with the following Custom Environment option as explained in How to use your own docker image for a Renku session considering the following parameters:
-
Container Image:
*user_registry_link* -
Default URL:
/shiny/work/<*path-to-app>*/where
*<path-to-app>*should be the path to the folder of the file starting the Shiny app.Make sure to include
/shiny/work/at the beginning and the slash at the end!
-
You can now start a session with your new shiny launcher to access the shiny app directly in your browser.