Create an environment with custom packages from a private code repository (GitHub Actions)
Would you like Renku to create an environment for you with the packages you need pre-installed? Renku can create a docker image for your Renku session for you based on a environment definition file in a code repository, such as a environment.yml, requirements.txt, or pyproject.toml.
If your code repository is public, you can have Renku build this image directly as part of your project! See How to create an environment with custom packages installed.
If your code repository is private, follow the instructions below.
Create a GitHub action to build a docker image
- First, make sure your code repository meets the requirements for Renku to build an image for you. See What kinds of environment definitions are supported?
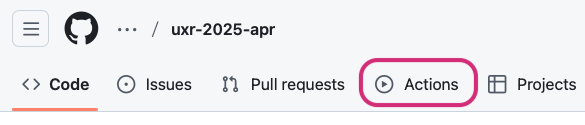
- In your GitHub code repository, in the upper menu, click on Actions.
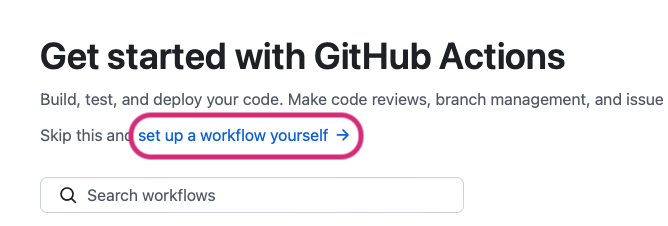
- Click set up a workflow yourself
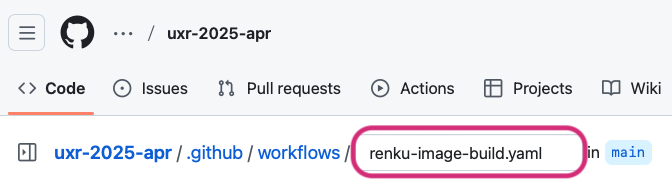
- Change the filename to renku-image-build.yaml
-
Paste the following into the file editor:
name: build image

on:
  push:

jobs:
  build-image:
    runs-on: ubuntu-24.04
    permissions:
      contents: read
      packages: write
      attestations: write
      id-token: write
    steps:
      - uses: actions/checkout@v4
      - name: Login to GitHub Container Registry
        uses: docker/login-action@v3
        with:
          registry: ghcr.io
          username: ${{ github.actor }}
          password: ${{ secrets.GITHUB_TOKEN }}
      - name: Set up Docker Buildx
        uses: docker/setup-buildx-action@v3
      - name: Docker meta
        id: meta
        uses: docker/metadata-action@v5
        with:
          images: ghcr.io/${{ github.repository }}/renku-image
          tags: |
            type=sha,prefix=
            type=raw,value=latest,enable=${{ github.ref == 'refs/heads/main' }}
            type=semver,pattern={{version}},event=tag
      - name: Build RenkuLab image
        uses: swissdatasciencecenter/renku-frontend-buildpacks/actions/build-image@main
        with:
          tags: ${{ steps.meta.outputs.tags }}
frontend: jupyterlab -
By default, the action defined above will create an image with JupyterLab as the front end. If you prefer a different front end, replace
jupyterlabin the last line of the file with one of the following alternative front ends:jupyterlab: Web-based interactive development for Jupyter notebooks, code, and data.vscodium: A freely-licensed version of Microsoft’s editor VS Code.ttyd: A web-based terminal with a minimalist interface.
-
Commit changes
Add the built image to your Renku project
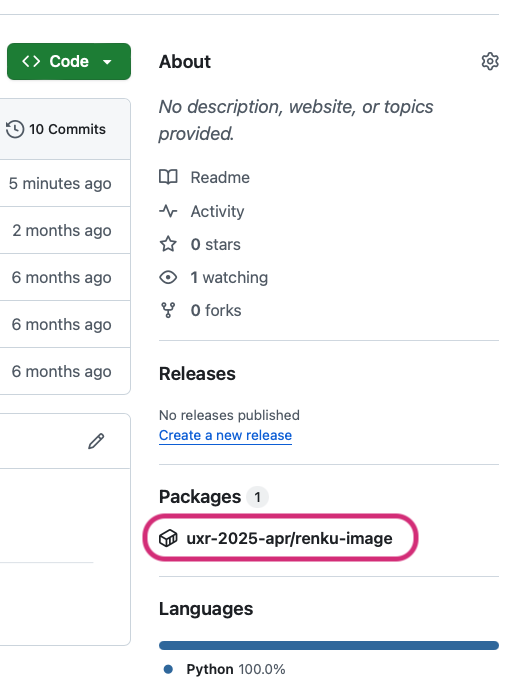
- Go back the main page of your code repository
- In the right menu, under Packages, click on the entry that reads repo-name/renku-image.
-
Copy your image URL from the install box.
- Note: Only copy the part that begins with
ghcr.io/...(don’t copydocker pull)
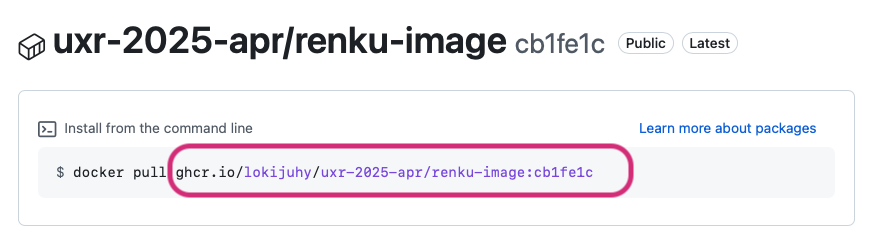
- Note: Only copy the part that begins with
-
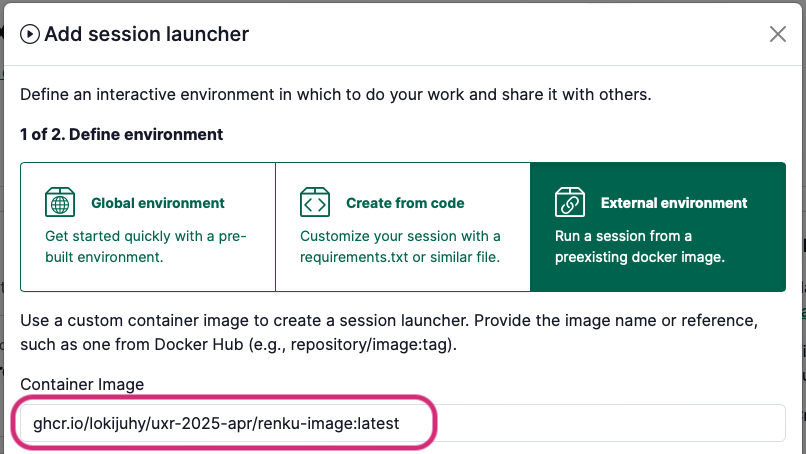
In your Renku project, add a new session launcher
-
Select External environment
-
Enter the image URL you copied into the Container Image field
 tip
tipWould you like your launcher environment to update automatically everytime you push? Replace the very last part of the image URL after the
:withlatest, as in the image above. -
In the advanced settings, set the following fields:
- Working directory:
/home/ubuntu/work - Mount directory:
/home/ubuntu/work
- Working directory:
-
Finish creating your launcher, giving your launcher a name and selecting the compute resources.