How to create a Streamlit app on top of your project
info
This documentation is out-of-date and will be updated soon!
As of now, it is still possible to launch your Streamlit app on top of your Renku 2.0 project as follows.
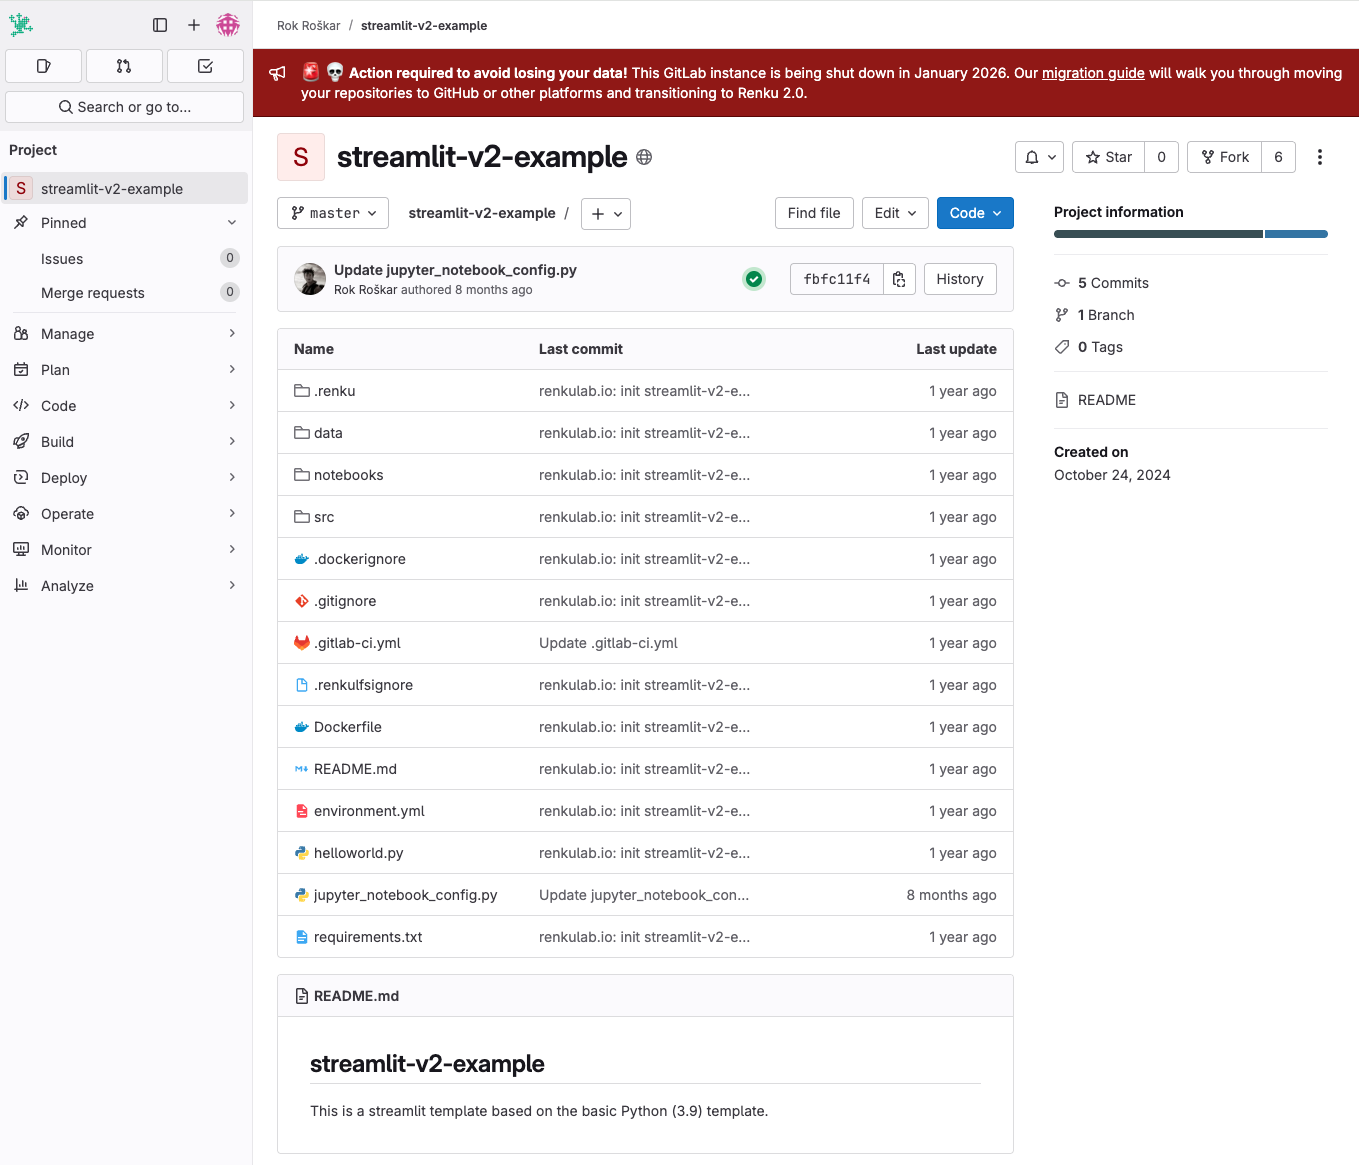
- Create a fork of this repository: https://gitlab.renkulab.io/rok.roskar/streamlit-v2-example, we will refer to the fork as project-fork.
-
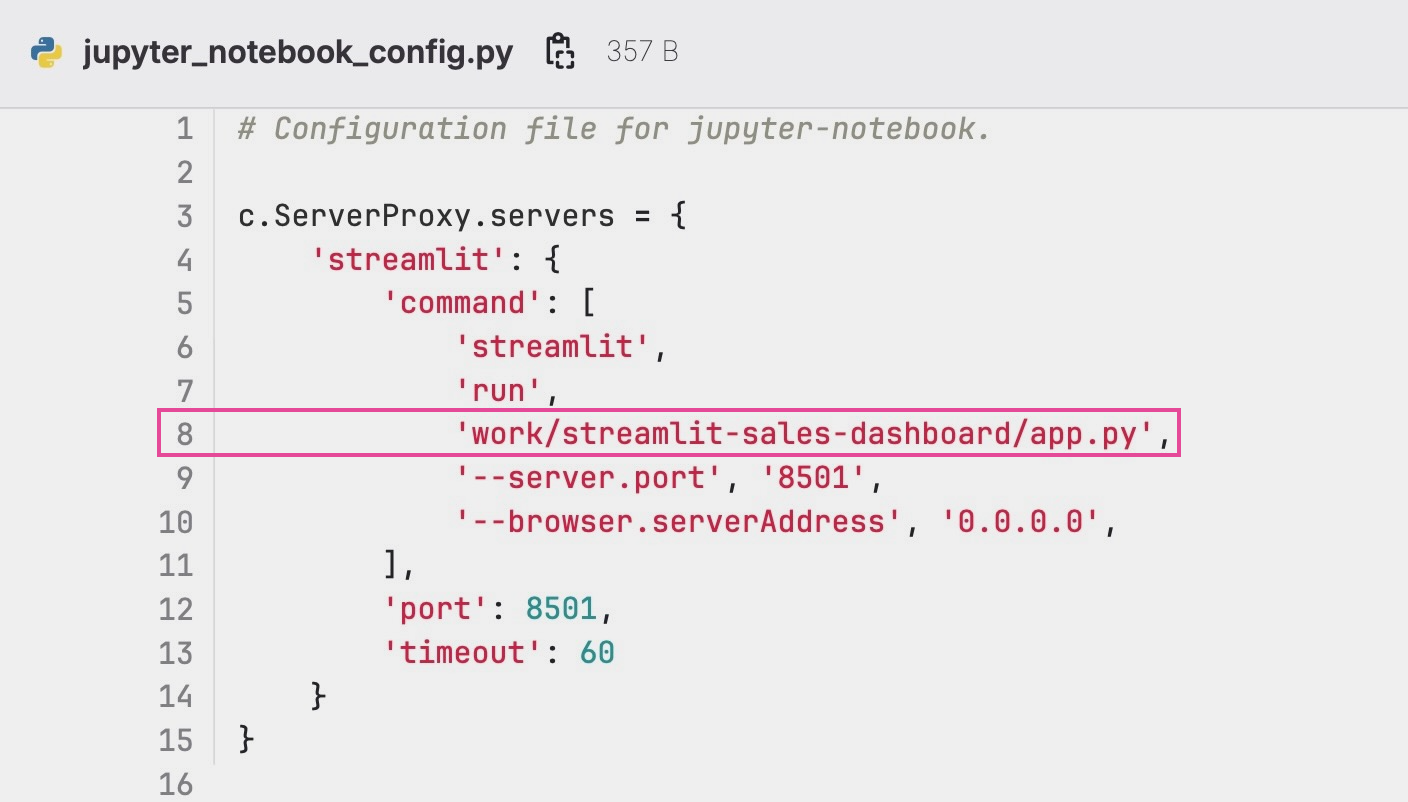
In project-fork, modify line 8 in the file
jupyter_noteboox_config.pyto the path to your python entry file for Streamlit within your Renku 2.0 project ( e.g.work/name-fork-project/helloworld.pyorwork/main-project-repository/streamlit/app.pyorwork/repository-2/app.py)⚠️ Do not forget to add
work/at the beginning of the path !
- Add all the package dependencies you will need to run your Renku 2.0 project in the requirements.txt file or in the environment.yml , as explained here.
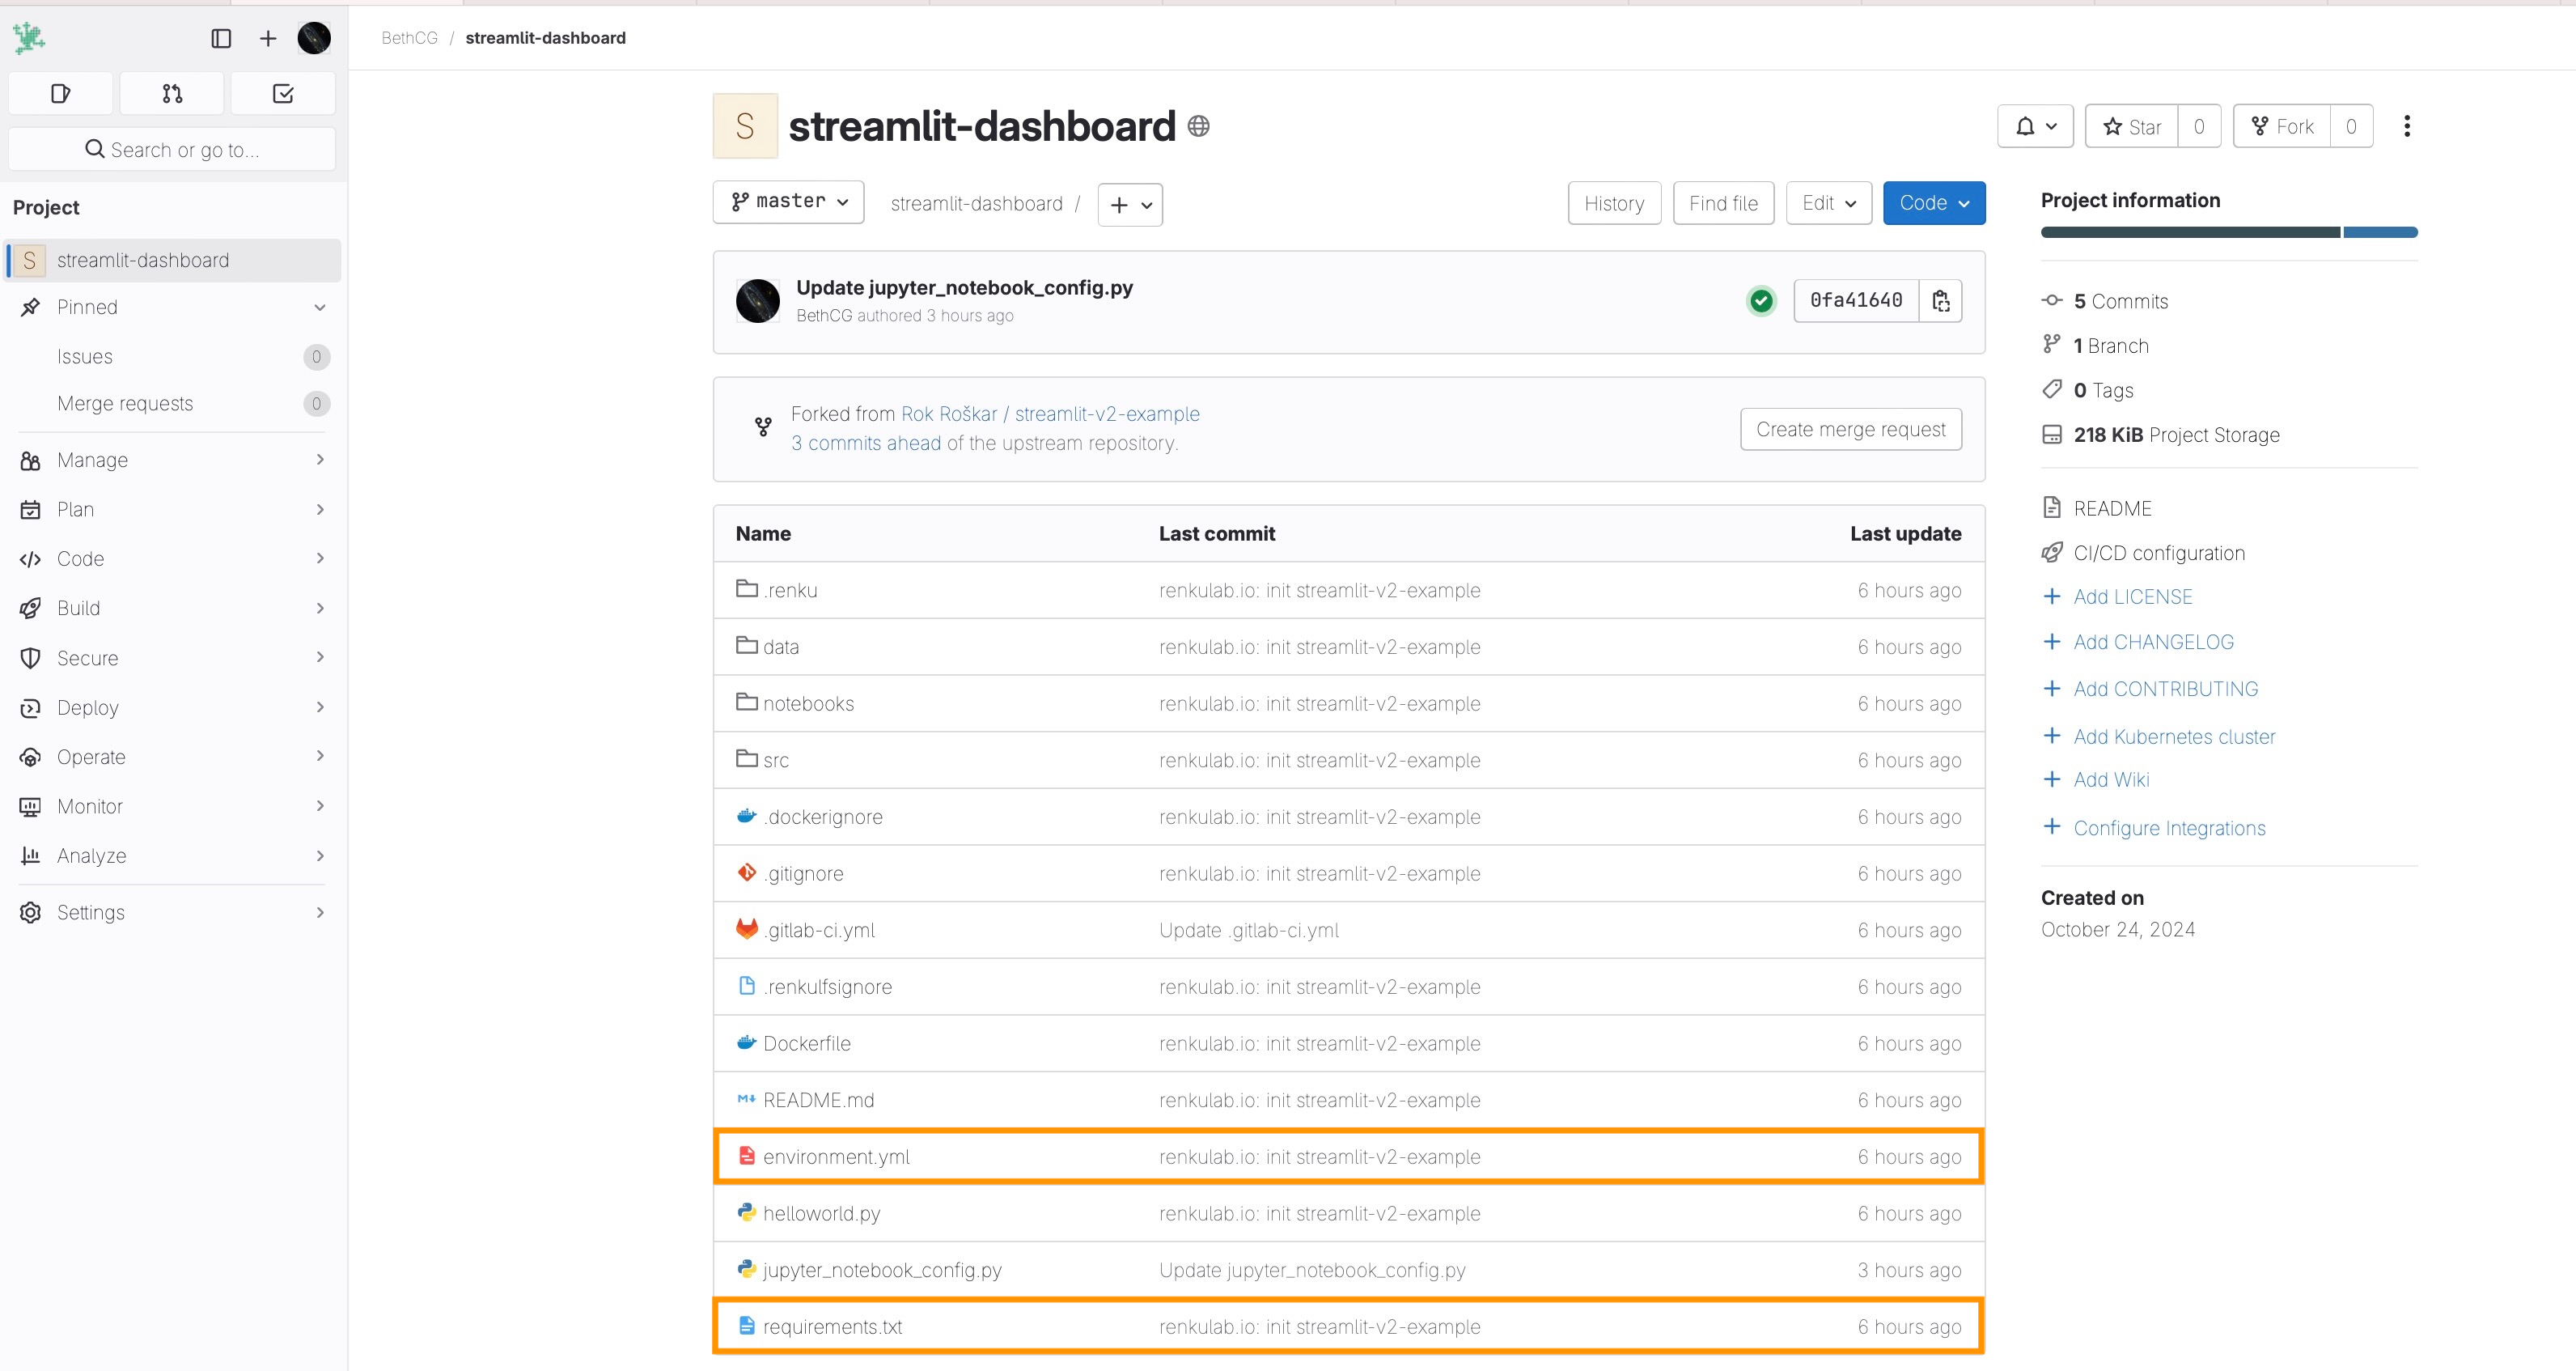
- Commit your changes for project-fork.
- Select Deploy(5a)/Container Registry(5b) on the left menu of project-fork.
- Click on top of your image registry to access the tags (6).
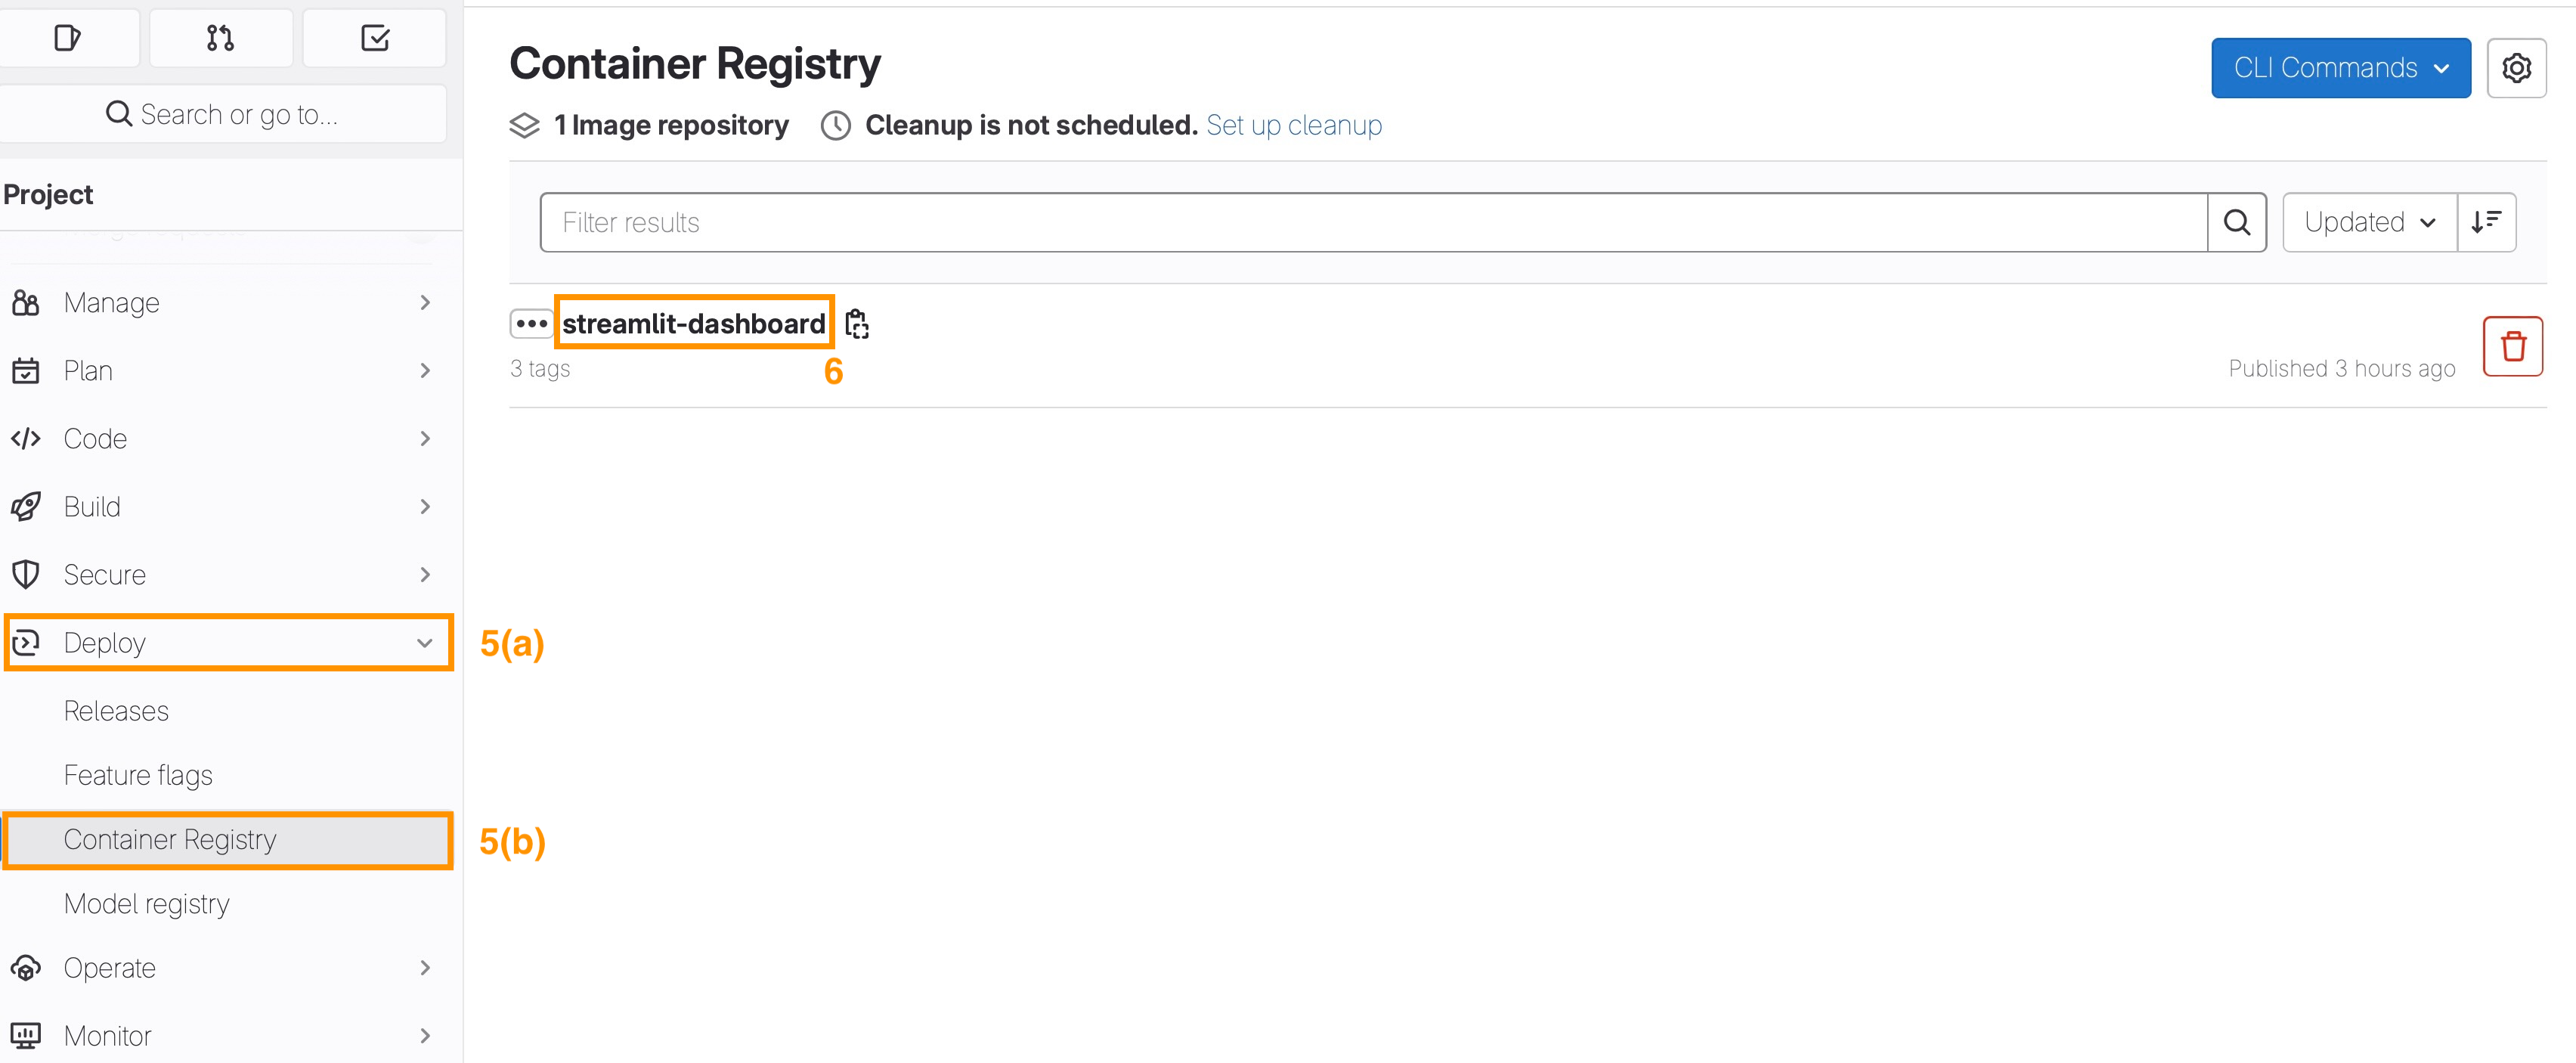
- Copy the latest tagged image (registry_link).

- Add a session launcher to your Renku 2.0 project the following Custom Environment set-up ****as described in How to use your own docker image for a Renku session. Consider the following two parameters:
- Container Image:
*registry_link* - Default URL:
/streamlit
- Container Image:
- [Optional] If the entry point for your streamlit app will be hosted in project-fork, add project-fork code repository to your Renku 2.0 project.
You can now start a session with your new streamlit launcher to access the streamlit app directly in your browser.