Add a session launcher to your project
There are 3 ways to create a session launcher on RenkuLab. Which of the situations below best describes you?
I just want to get started quickly!
Choose from the Global environments to create a session with commonly used packages pre-installed.
→ Continue below with the documentation on this page to get started!
I have a code repository that defines what packages I need.
Select the Create from Code option and let Renku build a environment based on your code for you - no knowledge of Docker required!
→ See How to create an environment with custom packages installed.
I already have a docker image I want to use.
Select the External Environment option to configure Renku to run your docker image.
→ See How to use your own docker image for a Renku session.
The rest of this guide will walk you through creating a basic launcher with a global environment.
In the project page:
-
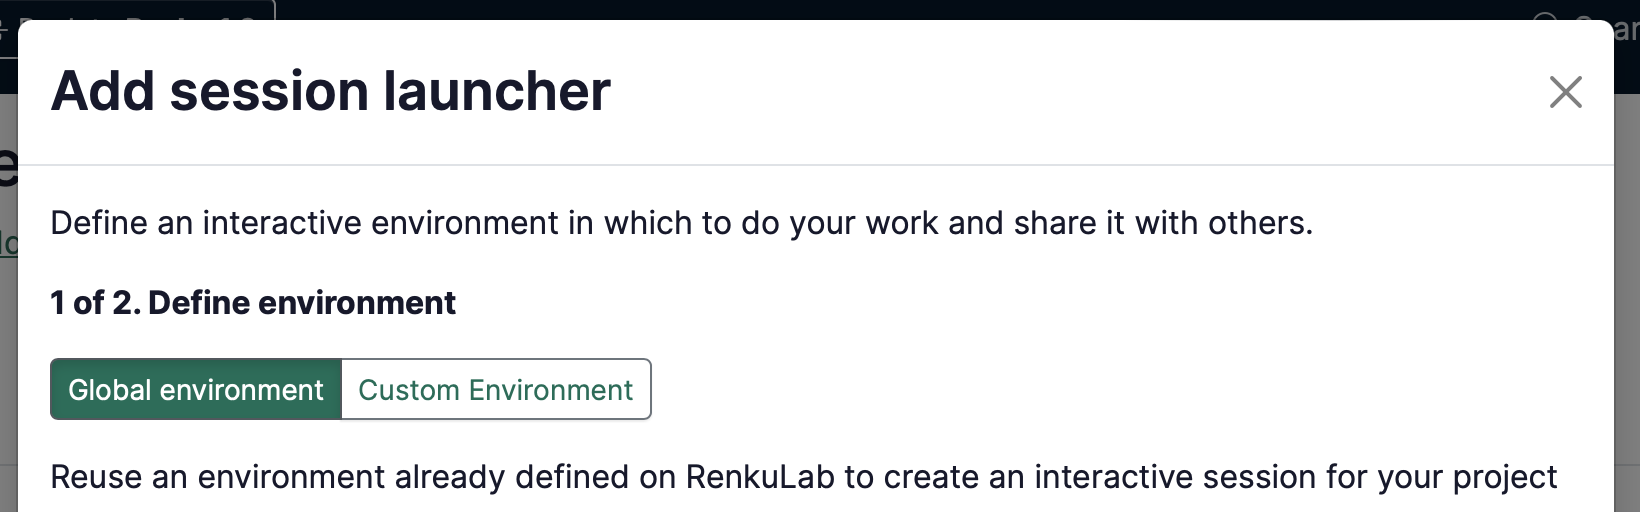
In the Sessions section click on ➕ to add a new session launcher
-
Choose Global environment (if it’s not already selected)
-
Select an environment from the list.
infoDon’t see an environment that suits your needs? You can create your own! See How to create an environment with custom packages installed or How to use your own docker image for a Renku session
-
Click Next
-
(optional) Give your session launcher a Name.
-
Select the Resource class that best fits your expected computational needs.
noteIf the available resource classes are too small for your compute requirements, see How to select compute resources for your session and Contact us!
-
Click on Add session launcher
If you need to add dependencies to the environment, see How to install packages on-the-fly in your session
Note that you can always modify your session launcher by clicking on it on the project’s page, to open the session launcher side panel:
